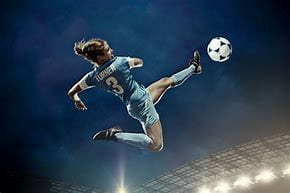
On the website “How to Capture Motion Blur in Photography” it is explaining to beginner photographers how to capture motion and blur correctly in a photo. Photographers normally only think about taking motion and blur pictures when taking photos of athletes playing or fast-moving objects like cars. One way in order to take a better motion or blur picture is to change the shutter speed. The shutter helps to see the amount of time that the shutter of the camera is open long enough in order to allow the cameras image sensor to see the moving object well. But then again the shutter speed will be determined by the moving object and how fast it is moving which will determine what speed it should be on.
There are many settings you could change for a photo in order to take the perfect motion and blur photo. One of the most important settings would be the shutter priority mode which would be perfect to use for motion photos. Which this means that you would need to change the photo to full Manual Mode or Shutter Priority Mode. This mode helps you choose your shutter speed and you’re able to change most of the settings like the aperture. This mode is very helpful and a great choice for taking photos that show motion. The other mode which would be Manual Mode would be helping getting the aperture and shutter speed on the right balance to get the perfect lighting.
Compensating will not be affected by how much lighting enters the shutter but if anything will be helpful and can make the photo better. Which this photo will lead to exposed shots. The aperture is best to be cut down by lighting and just have the right amount for the photo which you can do by adjusting the aperture. By decreasing the ISO it is a different way to have the right amount of lighting on the photo and it is a different way to compensate on a photo. A higher number will make it more sensitive to light and a lower number will make the sensor less sensitive. A neutral density filters cut down the light passing through your lens and into your camera. there are many ways in which you can use to take better motion pictures.
-
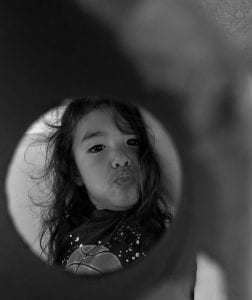
- 1/30 2.8 1250
-

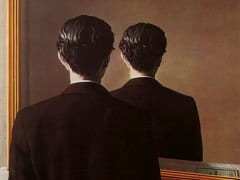
- 1/30 2.8 450
-

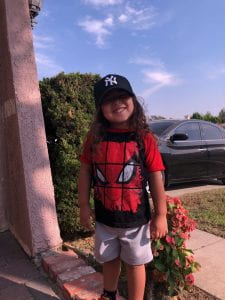
- 1/450 2.8 20
-

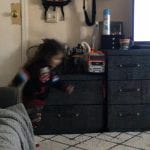
- 1/450 2.8 20

1/350 3.1 20